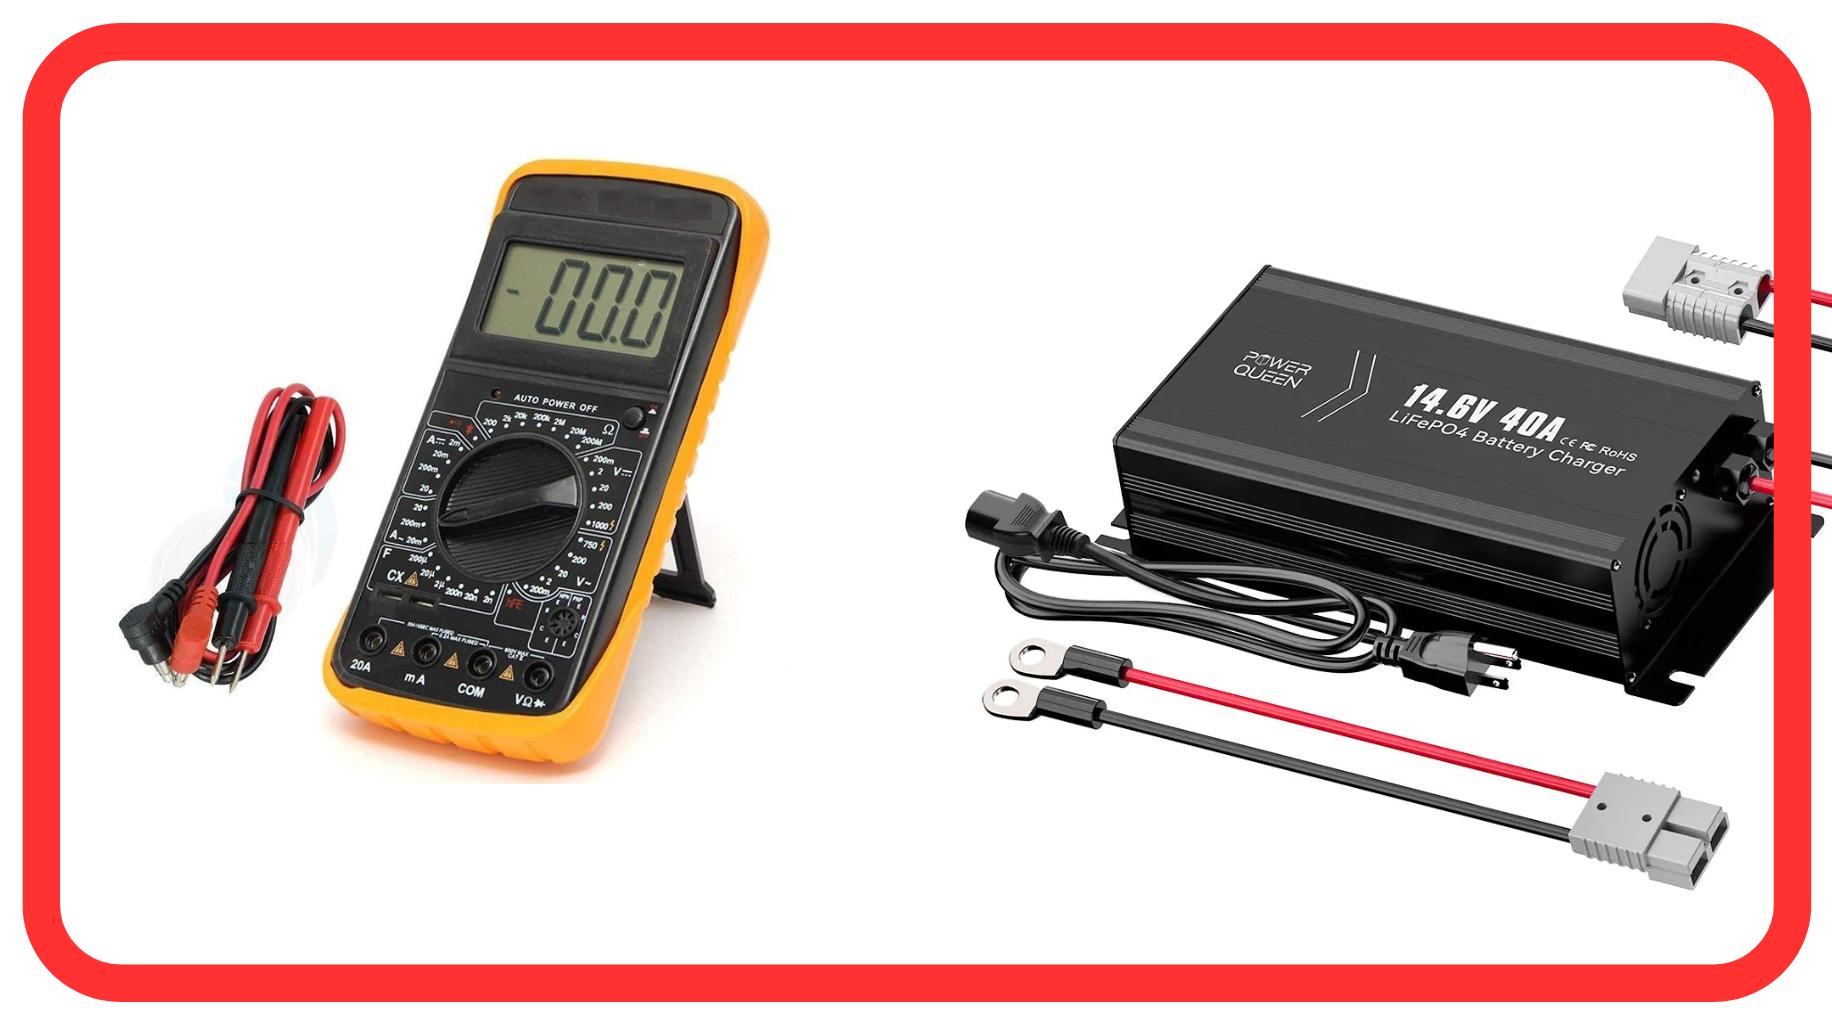
Testing a battery charger with a multimeter is essential for ensuring that it functions properly and safely charges batteries. This process involves measuring the voltage and current output of the charger, allowing you to identify any issues that may affect battery performance.

How to test a battery charger using a multimeter?
To test a battery charger, set your multimeter to measure voltage (DC). Connect the multimeter’s probes to the charger’s output terminals. Compare the reading to the charger’s rated voltage. If it matches, the charger is functioning. For current, set the multimeter to measure amps and connect it in series with the charger and a load.
To test a battery charger using a multimeter, follow these steps:
- Plug in the Charger: Connect your battery charger to an electrical outlet and ensure it is powered on.
- Set Up the Multimeter: Adjust the multimeter to measure DC voltage, which is typically indicated by “V” with a straight line.
- Connect Probes: Attach the black probe to the negative terminal and the red probe to the positive terminal of the charger’s output.
- Read the Voltage: Observe the reading on the multimeter display; it should match or be close to the charger’s rated output.
Chart: Basic Steps for Testing
| Step | Action |
|---|---|
| Plug in Charger | Ensure it’s connected and powered |
| Set Multimeter | Adjust to DC voltage mode |
| Connect Probes | Black to negative, red to positive |
| Read Voltage | Check display for expected output |
To test a battery charger using a multimeter, first set the multimeter to DC voltage. Connect the multimeter probes to the charger’s output terminals (positive to positive and negative to negative). Power on the charger and observe the voltage reading on the multimeter to check if it’s within the correct range.
What equipment do you need for testing a battery charger?
To test a battery charger, you need a multimeter to measure voltage and current. Ensure your multimeter is capable of measuring DC voltage. Additionally, have the charger you want to test and any compatible batteries available for a complete assessment.

To effectively test a battery charger, you will need:
- Multimeter: A versatile tool used for measuring voltage, current, and resistance.
- Battery Charger: The device you wish to test.
- Safety Gear: Safety glasses and gloves are recommended when working with electrical devices.
Chart: Essential Equipment
| Equipment | Purpose |
|---|---|
| Multimeter | Measures voltage and current |
| Battery Charger | The device being tested |
| Safety Gear | Protects against electrical hazards |
What are the steps to measure voltage output from the charger?
To measure the voltage output from a charger, set the multimeter to DC voltage mode. Connect the positive probe to the charger’s positive output terminal and the negative probe to the negative terminal. Turn on the charger, and the multimeter will display the voltage level.
To measure the voltage output from your battery charger:
- Prepare Your Multimeter: Set it to DC voltage mode.
- Connect Probes: Insert the black probe into the COM port and the red probe into the VΩmA port of the multimeter.
- Test Voltage:
- Touch the black probe to the charger’s negative terminal.
- Touch the red probe to the positive terminal.
- Check Reading: The multimeter should display a voltage reading that corresponds with what is specified on your charger.
Chart: Measuring Voltage Output
| Step | Description |
|---|---|
| Set Multimeter | Adjust for DC voltage |
| Connect Probes | Black to COM, Red to VΩmA |
| Touch Probes | Black on negative terminal, Red on positive |
| Read Display | Ensure it matches or exceeds rated output |
How to check current output from a charger?
To check current output, connect a load (like a battery) to the charger while measuring with the multimeter set to current mode (often labeled as A). Connect the multimeter in series with the load, ensuring proper probe placement, and observe the reading to determine the current output during charging.
To check current output, you will typically need to perform this test under load:
- Connect your battery or device that requires charging.
- Set your multimeter to measure current (usually indicated as “A”).
- Break the circuit by connecting one of your probes in series with the load.
- Observe how much current flows through; this indicates how much power your charger can deliver.
Chart: Checking Current Output
| Step | Action |
|---|---|
| Connect Load | Attach battery or device needing charge |
| Set Multimeter | Adjust for current measurement |
| Break Circuit | Insert probe in series |
| Read Current | Check display for amperage |
What should you do if the charger is not working?
If the charger is not working, first check if it’s plugged in and receiving power. Inspect for visible damage or loose connections. Test the output voltage with a multimeter; if it’s significantly below specifications, consider replacing the charger. If problems persist, consult a professional for further diagnosis.
If your tests indicate that the battery charger is not functioning properly:
- Check Connections: Ensure all connections are secure and correct.
- Inspect for Damage: Look for frayed wires or damaged components.
- Test Another Outlet: Try plugging into a different outlet or using another device.
- Replace Charger: If issues persist, consider replacing your charger.
Expert Opinions
“Regularly testing your battery charger can prevent potential damage to your batteries,” says Dr. Emily Chen, an electronics specialist. Using a multimeter not only helps in identifying faulty chargers but also ensures that your batteries are charged safely and efficiently.
Latest Developments in Battery Technology
Recent advancements in battery technology have led to improved charging methods and more efficient chargers. According to recent updates from Google News, researchers are exploring new materials and designs that enhance charging speeds while maintaining safety standards. These innovations could revolutionize how we approach battery maintenance and testing in various applications.
1. Digital Multimeters with Battery Charging Test Modes
In 2025, the latest digital multimeters have introduced specialized modes for testing battery chargers, allowing users to easily check charging voltage and current. This feature simplifies the process, offering a more intuitive way for both professionals and hobbyists to assess the efficiency and functionality of their chargers.
2. Integration of Bluetooth Connectivity in Multimeters for Remote Battery Testing
Some multimeters in 2025 now come with Bluetooth capabilities, enabling remote monitoring of battery chargers and their output. This innovation allows users to track the performance of their chargers via smartphone apps, making it easier to diagnose issues without being physically present at the charger.
3. Improved Accuracy in Multimeters for High-Voltage Charger Testing
Multimeters released in 2025 offer enhanced accuracy for testing high-voltage battery chargers. These advanced models feature improved resolution and better overload protection, making them ideal for working with chargers designed for larger or industrial batteries, offering both safety and precision in measurements.
1. Introduction of Smart Multimeters with Auto-Ranging and Data Logging Features
In 2025, advancements in multimeter technology have led to the development of smart multimeters equipped with auto-ranging capabilities and data logging functions. These features simplify the process of testing battery chargers by automatically selecting the appropriate measurement range and recording voltage readings over time, enhancing accuracy and convenience for users.
2. Enhanced Connectivity with Bluetooth-Enabled Multimeters for Remote Monitoring
Modern multimeters now offer Bluetooth connectivity, allowing users to remotely monitor and record battery charger performance through dedicated smartphone applications. This innovation facilitates real-time analysis and troubleshooting, making it easier to identify and address issues without the need for constant manual measurement.
3. Integration of Advanced Safety Features in Multimeters for Improved User Protection
The latest multimeters come equipped with enhanced safety features such as non-contact voltage detection, overload protection, and visual/audible alerts for unsafe conditions. These improvements provide users with greater protection when testing battery chargers, reducing the risk of electrical hazards and ensuring safer operation.
FAQs About Testing Battery Chargers with a Multimeter
Q1: Can I use any multimeter for testing?
A1: Yes, any standard digital or analog multimeter will suffice for testing battery chargers.
Q2: Is it safe to test while connected?
A2: It’s generally safer to test without connecting a battery; however, if testing under load, ensure proper precautions are taken.
Q3: What if my charger shows no output?
A3: Check connections and ensure power supply; if issues persist, consider professional inspection or replacement.
Q4: How often should I test my battery charger?
A4: Regular testing every few months or after significant use can help ensure optimal performance and safety.
What should I do if my multimeter shows a low voltage reading on the battery?
If your multimeter shows a low voltage reading, first ensure proper contact between the probes and the battery terminals. Clean any corrosion if necessary. Check if the multimeter is set to the correct DC voltage range. If readings remain low, the battery may be weak or dead and should be tested under load or replaced.
How can I ensure my multimeter is set correctly for testing a battery charger?
To set your multimeter correctly for testing a battery charger, turn the dial to the DC voltage setting, typically labeled as “VDC.” Ensure the range is appropriate for the expected voltage (e.g., 20V for a 12V charger). Double-check connections and probe placement before taking measurements to avoid inaccurate readings.
What are the signs that my battery charger is not working properly?
Signs of a malfunctioning battery charger include no voltage output when connected, excessive heat during operation, or inconsistent charging times. Additionally, if the battery does not hold a charge or shows swelling, it may indicate an issue with the charger. Monitor for any unusual sounds or smells as well.
How do I test a battery charger that uses different voltage settings?
To test a multi-voltage battery charger, set your multimeter to the appropriate DC voltage range for each setting. Connect the probes to the charger’s output terminals while it is powered on. Measure the voltage at each setting to ensure it matches the specified output; discrepancies may indicate a malfunction.
What should I look for in a multimeter to test battery chargers effectively?
When selecting a multimeter for testing battery chargers, look for features like auto-ranging, which simplifies measurements across various voltages. Ensure it has a DC voltage setting capable of measuring at least up to 20V. A good resolution (at least 3 digits) and safety ratings (like CAT III) are also essential for accurate and safe testing.
Testing battery charger video
Conclusion
Testing a battery charger with a multimeter is an essential skill that helps ensure safe operation and optimal performance of batteries. By following proper procedures and using appropriate equipment, you can easily determine whether your charger is functioning correctly.