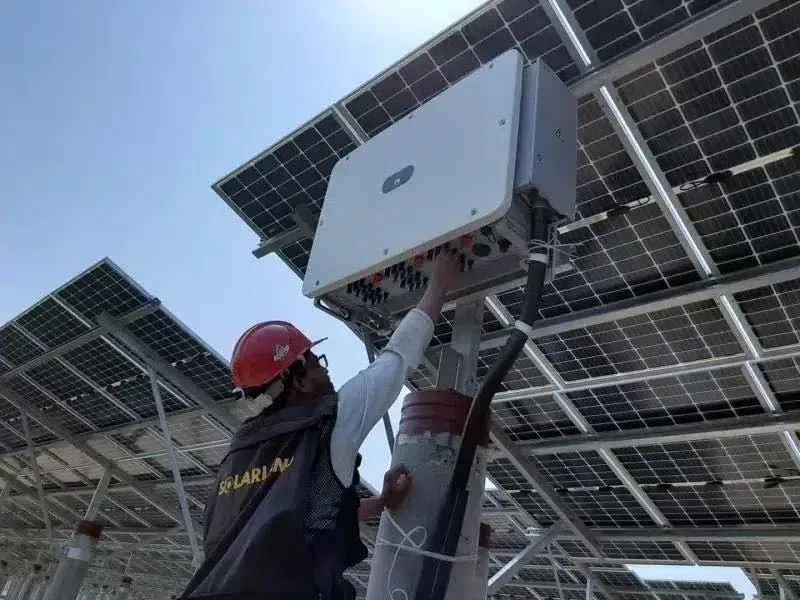
Solar panels have gained immense popularity as a renewable energy source. If you’re planning to install a solar panel, it’s important to know how to test its performance. In this article, we will provide a step-by-step guide on how to test a solar panel with a multimeter. Additionally, we will discuss the different types of multimeters and their functions. Let’s dive in!

#post_seo_title
Solar Panel Testing with a Multimeter:
To begin testing your solar panel’s performance, follow these steps:
1. Locate the Converter Box:
Turn the solar panel around to access the converter box. Remove the cover to examine the wiring inside. It is important to understand the positive and negative connections. Also, ensure that your solar collector is facing south to maximize sunlight exposure.
2. Set the Multimeter to Direct Current (DC) Mode:
Choose the correct mode on your multimeter for accurate measurements. If you want to measure current, set it to DC Amperage mode. For voltage readings, switch to DC voltage mode. Always select a higher reading than the nominal voltage of your solar panel to ensure precision.
3. Connect Alligator Clips:
Attach the positive lead of the alligator clip to the positive terminal and the negative lead to the negative terminal. This will give you the voltage reading on the multimeter. Ensure that the voltage produced by the solar panel is near the permitted voltage.
4. Testing a 12-Volt Solar Panel:
For a 12-volt solar panel, connect the black alligator clips to the negative side and the red ones to the positive side. Set your multimeter to a voltage range higher than 200 VCD for accurate readings. If the multimeter shows an overload condition, increase the VCD setting to prevent damage.
5. Verify the Charge Controller:
To test the charge controller, disconnect the solar panel from the regulator and battery. Connect the controller, solar panel, and battery together. Ensure that the battery is not fully charged to allow current flow. Reconnect the controller to the battery before connecting it back to the solar array.
Types of Multimeters:
There are three main types of multimeters:
1. Analog Multimeter:
Analog multimeters use a moving coil meter and a pointer to display readings. They are affordable, battery-free, and suitable for measuring changes in readings.
2. Digital Multimeter:
Digital multimeters can measure AC and DC currents accurately. They have an LCD display and offer various functions like measuring voltage, resistance, and conducting diode tests. They are widely used in the industry due to their versatility.
3. Fluke Multimeters:
Fluke multimeters are known for their advanced features and ability to calibrate electrical quantities accurately. They can measure voltage, resistance, frequency, temperature, and more. Fluke multimeters are often used by professionals for their reliability and precision.
Top 10 Questions and Answers for Practitioners in the Energy Storage or Solar Industry:
1. How can I test the efficiency of a solar panel?
– To test the efficiency of a solar panel, use a multimeter to measure its voltage and current output. Multiply the values to determine the wattage, which can then be used to calculate the panel’s efficiency.
2. What is the purpose of a charge controller in a solar panel system?
– A charge controller regulates the flow of current from the solar panels to the batteries. It prevents overcharging and protects the batteries from damage.
3. Can I test a solar panel without a multimeter?
– While a multimeter is the most accurate tool for testing solar panels, you can also use a voltmeter or ammeter to measure voltage or current output respectively.
4. How often should I test my solar panels?
– It is recommended to test your solar panels at least once a year to ensure their optimal performance. Regular testing helps identify any issues or degradation in the panel’s efficiency.
5. What is the difference between a switched and automated multimeter?
– A switched multimeter requires manual switching between ranges, while an automated multimeter automatically selects the appropriate range for measurement. Both can be used to test solar panels.
6. Can I test the amp output of a solar panel with a multimeter?
– Yes, you can test the amp output of a solar panel with a multimeter by selecting the DC amperage mode and following the appropriate steps mentioned earlier.
7. How do I determine the optimal number of solar panels for my energy needs?
– Calculate your annual power consumption and divide it by the annual panel production in kilowatt-hours (kWh). This will help you determine the number of panels required to meet your energy needs.
8. Can I test a solar panel’s wattage without sunlight?
– No, a solar panel’s wattage can only be accurately measured in direct sunlight. Without sunlight, the panel may not produce any power or may produce a minimal amount.
9. What are the benefits of using a digital multimeter over an analog multimeter?
– Digital multimeters offer precise measurements, a wide range of functions, and easy-to-read LCD displays. They are more versatile and convenient compared to analog multimeters.
10. Is it necessary to disconnect the solar panel before testing the charge controller?
– Yes, it is crucial to disconnect the solar panel from the charge controller before testing. This prevents any potential damage to the controller and ensures accurate measurements.
Conclusion:
Testing solar panels with a multimeter is essential to monitor their performance and ensure optimal energy generation. By following the steps mentioned in this guide, you can accurately measure voltage, current, and wattage. Understanding the different types of multimeters and their functions will further enhance your testing capabilities. Regular testing and maintenance of solar panels are crucial for their long-term efficiency and reliability in generating renewable energy.


