Creating a DIY 72V 200Ah lithium battery pack for your eBike or electric tricycle can enhance performance and extend your travel range. This guide provides step-by-step instructions on selecting components, assembling the battery pack, and ensuring safety during the process.

What Components Do I Need to Build a 72V 200Ah Battery Pack?
To build a 72V 200Ah battery pack, you will need the following components:
- Battery Cells: Choose high-quality lithium-ion cells with a capacity of at least 3.2V per cell.
- Battery Management System (BMS): This ensures safe charging and discharging of the battery pack.
- Connectors and Wiring: Use appropriate gauge wire and connectors to handle the current.
- Enclosure: A sturdy case to house the battery cells and protect them from damage.
- Insulation Materials: Heat-resistant tape or foam for safety.
What Is the Step-by-Step Process to Assemble the Battery Pack?
- Prepare the Cells: Ensure all cells are at similar voltage levels before connecting them.
- Connect Cells in Series: Connect groups of cells in series to reach the desired voltage.
- Create Parallel Groups: Connect multiple series strings in parallel to achieve the required capacity.
- Install BMS: Connect the BMS according to its wiring diagram, ensuring balance leads are attached correctly.
- Secure Connections: Use soldering or appropriate connectors to ensure solid electrical connections.
- Enclose the Pack: Place the assembled pack into an enclosure for protection.
How Do I Ensure Safety While Building My Battery Pack?
Safety is paramount when working with lithium batteries. Follow these precautions:
- Use Proper Tools: Ensure you have insulated tools and wear safety goggles and gloves.
- Avoid Short Circuits: Be cautious with exposed wires and connections; use heat-shrink tubing where necessary.
- Monitor Temperature: Use temperature sensors with your BMS to prevent overheating.
- Ventilation: Ensure proper ventilation in your battery enclosure to avoid gas buildup.
What Are Common Issues When Building a DIY Battery Pack?
Common issues include:
- Cell Imbalance: Cells with different charge levels can lead to reduced performance and lifespan.
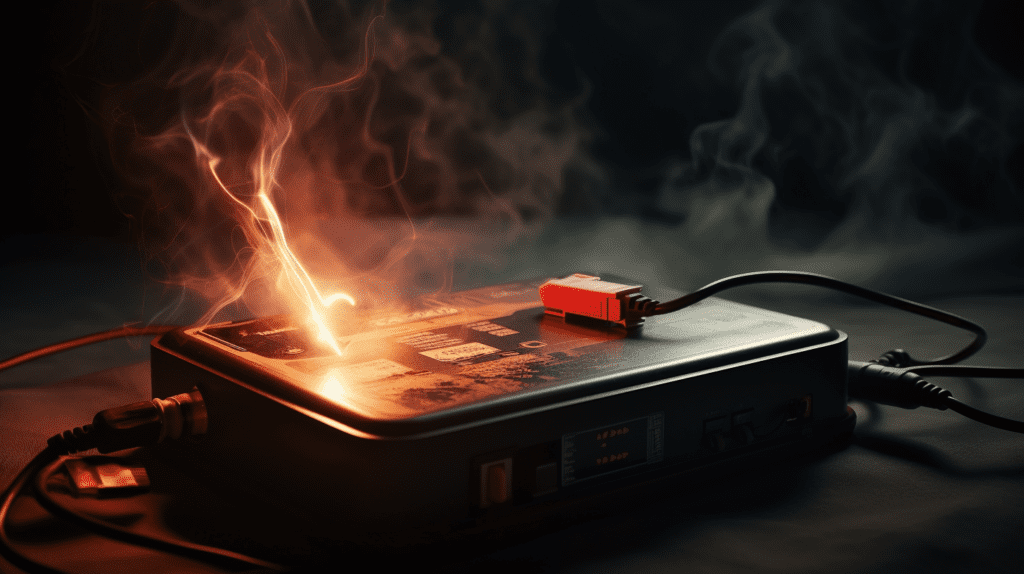
- Overheating: Poor connections or excessive current can cause overheating; ensure adequate cooling measures.
- Incorrect BMS Setup: Improperly configured BMS can lead to unsafe charging conditions.
How Can I Test My Battery Pack After Assembly?
After assembling your battery pack, conduct these tests:
- Voltage Check: Measure the total voltage output across the pack to ensure it meets specifications.
- Load Test: Connect a load (like an eBike motor) and measure performance under load conditions.
- Cycle Testing: Charge and discharge the pack several times to check for consistency in performance.
Latest News
As of November 2024, advancements in lithium-ion technology continue to improve efficiency and safety in DIY battery packs for electric vehicles. New BMS options now include features such as Bluetooth connectivity for real-time monitoring, enhancing user control over battery health. Additionally, more affordable sourcing options for high-capacity cells are emerging, making DIY projects more accessible.

Editor Comment
“Building your own battery pack can be incredibly rewarding, offering both cost savings and customization tailored to your specific needs. However, it’s essential to prioritize safety and thorough testing to ensure reliability on the road.”
FAQ
What tools do I need for building a DIY battery pack?
You will need soldering tools, insulated wire cutters, multimeter for testing voltage, and safety gear like gloves and goggles.Can I use different brands of cells in my battery pack?
It is not recommended as different brands may have varying capacities and discharge rates, leading to imbalances.How long can I expect my DIY battery pack to last?
With proper care and maintenance, a well-built lithium-ion battery pack can last between 5 to 10 years.
Conclusion
Building a DIY 72V 200Ah battery pack for your eBike or electric tricycle is an achievable project that can significantly enhance your vehicle’s performance. By carefully selecting components, following safety protocols, and conducting thorough testing, you can create a reliable power source tailored specifically for your needs.