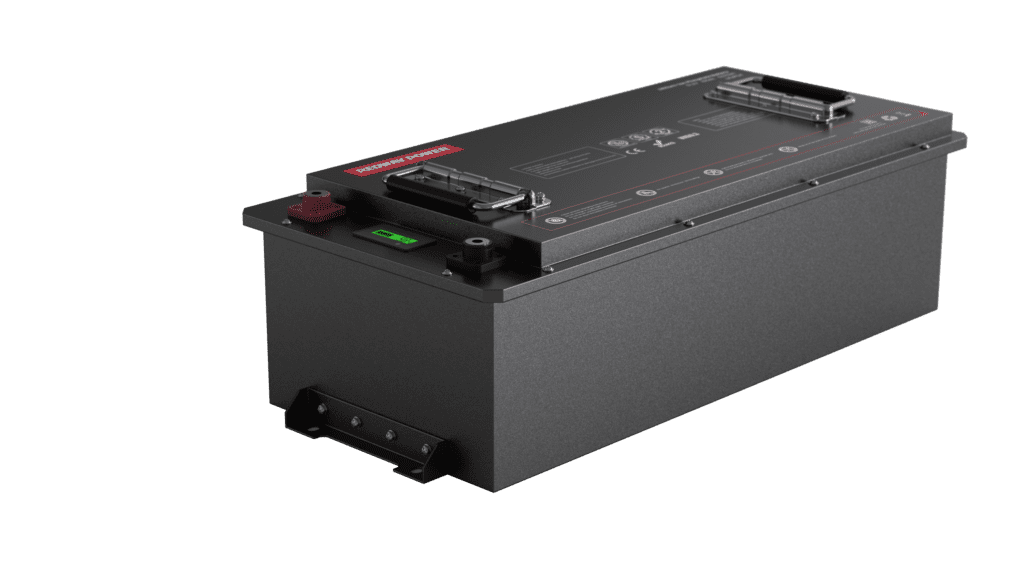
Lithium iron phosphate (LiFePO4) batteries have gained popularity in the RV community due to their high energy density, longer lifespan, and superior performance compared to traditional lead-acid batteries. In this DIY guide, we’ll walk you through the steps to assemble a 12V 560Ah lithium iron phosphate RV battery pack using 3.2V 280Ah battery cells.

#post_seo_title
Materials:
- Lithium Iron Phosphate Battery Cells: 8 pieces of 3.2V 280Ah
- Battery Structure: 4S2P (4 series and 2 parallel)
- Battery Management System (BMS): 4-string lithium battery solution/200A
- Battery Case: 1.2mm thick stainless steel, size 650190240 mm
- Isolation Material: Epoxy resin board (yellow)
- Tape: Fiber tape (W30mm)
- Connecting Piece: 5 pieces of aluminum sheet (material 1060, thickness 1.5)
Steps to Build the Lithium RV Battery Pack:
Step 1: Prepare the Work Area Ensure you have a well-ventilated and well-lit workspace with all the necessary tools and safety equipment.
Step 2: Arrange the Battery Cells Arrange the lithium iron phosphate battery cells in a 4S2P configuration, ensuring they are properly aligned and oriented according to the desired structure.
Step 3: Connect Cells in Series and Parallel Using the connecting pieces (aluminum sheets), connect the battery cells in series and parallel to achieve the 4S2P configuration. Ensure secure and proper connections.
Step 4: Insulate the Battery Pack Apply isolation materials, such as epoxy resin boards, to insulate the connections and prevent any electrical shorts. Properly cover and secure the entire battery pack.
Step 5: Install the Battery Management System (BMS) Integrate the BMS into the battery pack, ensuring it is appropriately connected and configured to monitor and manage the cells effectively.
Step 6: Place the Battery Pack in the Case Carefully place the assembled battery pack into the stainless steel battery case, ensuring a snug fit and proper alignment.
Step 7: Secure the Battery Pack Secure the battery pack inside the case using appropriate fasteners and ensure it is stable and well-positioned.
Step 8: Seal and Insulate the Case Seal the battery case to prevent any external elements from entering and insulate it further for added safety and protection.
Step 9: Check Connections and Voltage Verify all connections, and using a multimeter, measure the voltage across the terminals to ensure the battery pack is functioning correctly.
Step 10: Finalize and Test Close the battery case securely and perform a comprehensive test to confirm the performance, charging, and discharging capabilities of the RV lithium battery pack.
Conclusion
With this DIY guide, you can successfully build a high-capacity 12V 560Ah lithium iron phosphate RV battery pack. Remember to prioritize safety throughout the construction process and carefully follow each step to ensure a reliable and efficient power source for your RV adventures.
Also check: How to DIY 72V 180Ah Battery Pack For 1000-2000W Electric Bike/Tricycle


