To read and understand your Schumacher 12V battery charger, familiarize yourself with its features, indicator lights, and operation methods. Knowing how to connect it properly and interpret its display will ensure effective charging and troubleshooting. This knowledge helps maintain battery health and prolongs its lifespan.
What Are the Key Features of the Schumacher 12V Charger?
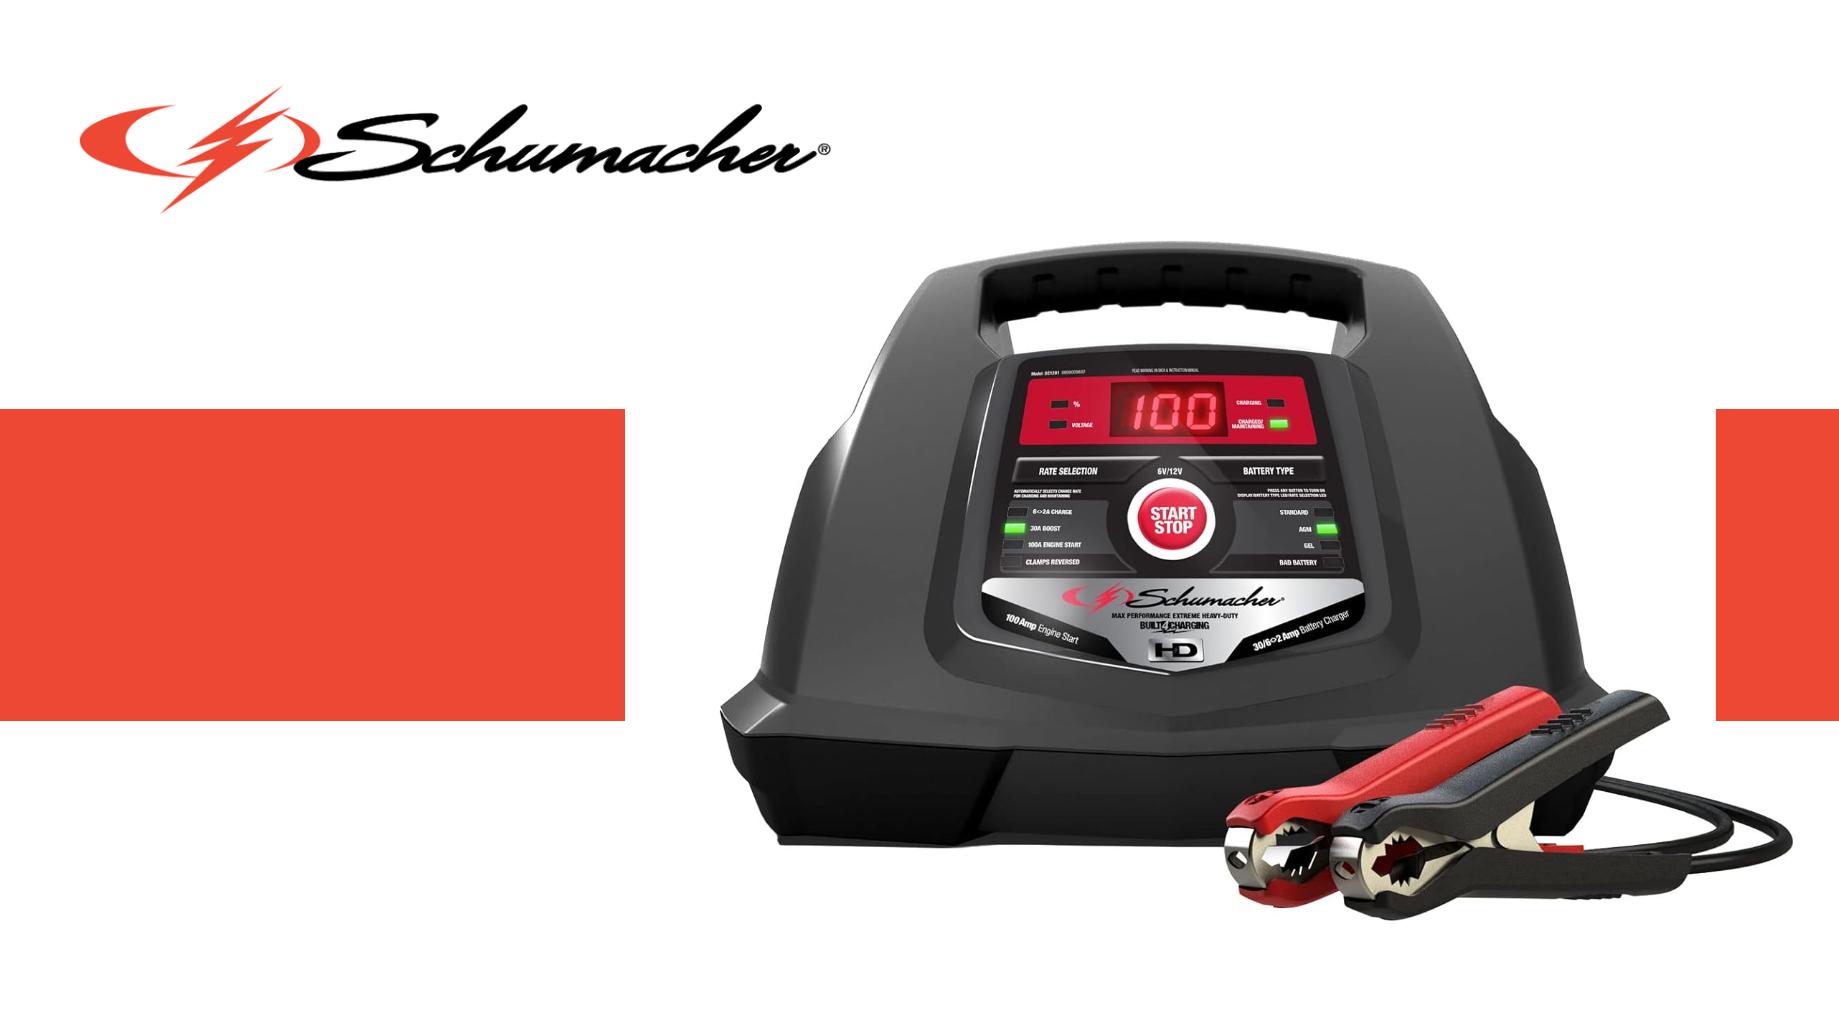
The Schumacher 12V charger offers features like automatic voltage detection, reverse polarity protection, and multi-stage charging. It includes a digital display for easy monitoring and can charge various 12V battery types. Some models also feature maintenance modes to prevent overcharging.
The Schumacher 12V charger is designed with several key features that enhance its functionality:
- Automatic Charging: The charger automatically adjusts its output based on battery needs, preventing overcharging.
- Multi-Function Display: Many models feature a digital display showing voltage and charge percentage.
- Safety Features: Includes protections against reverse polarity, overheating, and short circuits.
- Multiple Charging Rates: Offers various charging rates (e.g., 2A, 10A, 40A) for different battery types.
How Do You Connect the Charger to a Battery?
To connect the Schumacher 12V charger, first, ensure the charger is unplugged. Attach the red positive ( + ) clamp to the positive terminal on the battery, and the black negative ( – ) clamp to the negative terminal. Plug in the charger and select the appropriate charge setting.
To connect your Schumacher charger to a battery:
- Turn Off All Accessories: Ensure that all vehicle accessories are off before connecting.
- Clean Terminals: Clean any corrosion from battery terminals for better connection.
- Connect Cables:
- Attach the red (positive) clamp to the positive terminal of the battery.
- Attach the black (negative) clamp to the negative terminal.
- Plug in Charger: Connect the charger to an electrical outlet.
- Select Charge Rate: Choose an appropriate charging rate based on your battery type.
Chart: Recommended Charging Rates for Different Battery Types
| Battery Type | Recommended Charge Rate |
|---|---|
| Standard Lead Acid | 10A – 40A |
| AGM | 6A – 10A |
| Deep Cycle | 10A – 20A |
What Do the Indicator Lights Mean on the Charger?
The Schumacher 12V charger uses indicator lights to show the charging status. Red light typically indicates charging, green light means fully charged, and yellow/orange light may indicate a fault or maintenance mode. Refer to the manual for specific light patterns and meanings for different models.
Indicator lights provide essential information about charging status:
- Green Light On: Indicates that AC power is present; charger is ready.
- Red Light On: Shows that charging is in progress; voltage output is active.
- Flashing Red Light: Indicates an error or problem with connections or battery condition.
How Can You Use the Voltage Tester Feature?
To use the voltage tester feature on the Schumacher charger, simply connect the charger’s clamps to the battery. Turn on the charger, and the display or indicator light will show the current voltage. This allows you to assess the battery’s health and determine if a charge is necessary.
The voltage tester feature allows you to check battery voltage before charging:
- Connect Leads: Connect charger leads to battery terminals as previously described.
- Select Voltage Test Mode: Press the button to switch to voltage testing mode.
- Read Display: The digital display will show current battery voltage; compare it with standard readings:
- Fully Charged: 12.6V or higher
- Needs Charging: 12.4V – 12.5V
- Discharged: Below 12.4V
Chart: Voltage Readings and Battery Condition
| Voltage Reading | Battery Condition |
|---|---|
| 12.8V or more | Fully Charged |
| 12.4V – 12.7V | Needs Charging |
| Below 12.4V | Discharged |
What Are Common Error Codes for Schumacher Chargers?
Common error codes on Schumacher chargers include E1 for over-voltage, E2 for under-voltage, and E3 for reverse polarity. Each code indicates specific issues, such as incorrect connections or faulty battery conditions. Check the manual for specific error code meanings and troubleshooting steps.
Schumacher chargers may display error codes that help diagnose issues:
- F01: Battery voltage too low; check battery condition.
- SUL: Detected sulfated battery; charger enters desulfation mode.
- F02: Unable to desulfate; consider replacing battery.
- F04: Connections reversed; correct polarity.
How Can You Diagnose Charging Issues?
To diagnose charging issues with a Schumacher charger, first, check for secure connections and ensure the battery is in good condition. If the charger shows an error code or doesn’t charge, verify the voltage and check for issues like reverse polarity or damaged cables.
If your charger isn’t working as expected, follow these steps:
- Check Connections: Ensure all clamps are securely attached without corrosion.
- Inspect Power Source: Verify that your outlet is functioning properly by testing another device.
- Monitor Indicator Lights: Look for any unusual light patterns indicating errors.
What Should You Do if Your Charger Doesn’t Work?
If the Schumacher charger doesn’t work, check the power source, inspect the charger’s cables, and ensure the battery is properly connected. If there’s still no output, consult the user manual for troubleshooting tips, or contact customer support for further assistance with defective units.
If your charger fails to operate:
- Reset Connections: Unplug and reconnect everything securely.
- Test with Another Battery: This can help determine if the issue lies with your charger or battery.
- Consult Manual for Troubleshooting Steps: Refer to your charger’s manual for specific troubleshooting instructions.
How Do You Operate a Schumacher Battery Charger?
To operate a Schumacher battery charger, connect the charger to the battery terminals, select the appropriate charging mode (e.g., fast or slow charge), and turn it on. Monitor the indicator lights or display for progress and remove the charger once the battery is fully charged.
Operating a Schumacher battery charger involves:
- Setting Up Properly: Follow connection steps outlined earlier.
- Selecting Charge Rate: Choose an appropriate rate based on your battery type and condition.
- Monitoring Progress: Keep an eye on indicator lights and voltage readings during charging.
What Are the Safety Precautions When Using the Charger?
When using a Schumacher 12V charger, ensure you’re working in a well-ventilated area and avoid touching the battery’s terminals while charging. Wear safety goggles and gloves, especially when handling damaged or leaking batteries, and always follow manufacturer instructions for safe operation.
When using a Schumacher charger, always observe these safety precautions:
- Avoid Sparks Near Batteries: Sparks can cause explosions; work in a well-ventilated area away from flammable materials.
- Do Not Overcharge: Monitor charging time and disconnect once fully charged to prevent damage.
- Wear Protective Gear: Use gloves and safety glasses when handling batteries.
How Can You Read the Display on the Charger?
The Schumacher charger’s display shows vital information like voltage level, charge status, and error codes. The display may show a numeric value of the current voltage or charging percentage. Consult the user manual for details on interpreting the information shown for specific models.
Reading your charger’s display involves understanding what each indicator means:
- Voltage Display: Shows real-time voltage levels of connected batteries.
- Charge Percentage Indicator: Displays how much charge has been delivered (if applicable).
- Error Codes/Warnings: Alerts you to any issues needing attention.
How to Use Schumacher Battery Charger
To use a Schumacher battery charger, connect the charger’s clamps to the positive and negative terminals of the battery. Select the appropriate charge mode on the charger, plug it in, and monitor the status lights or display until the battery is fully charged. Always follow safety guidelines when using the charger.
FAQ Section
- How do I know if my Schumacher charger is working?
Check indicator lights; a green light indicates power, while a red light shows charging activity. - What should I do if my charger shows an error code?
Refer to your manual for specific error code meanings and suggested actions. - Can I use my Schumacher charger for different types of batteries?
Yes, but ensure you select the correct settings for each specific battery type. - How long does it take to charge a car battery with a Schumacher charger?
Charging time varies based on battery size and state of charge but typically ranges from several hours to overnight.